A good microphone can pick up your voice and the room around it. When sound reflects off bare walls and other hard surfaces, those reflections can make a podcast, voiceover, or music recording sound more roomy than you intended.
Shopping gets confusing because acoustic panels are often sold as soundproofing. Panels help manage echo inside the room. Keeping traffic, neighbors, or a drum kit from being heard through a wall calls for sound isolation, which depends on the room’s construction.
We researched studio wall treatments, compared foam and polyester panel options, and ranked our picks by the jobs they suit. Our guide covers a small patch for a desk setup, a larger kit for a dedicated studio, and panels that double as wall art.
How We Selected the Best Acoustic Panels for Studios
We compared the current listings for each kit and checked dimensions, materials, panel counts, and mounting directions. Then we used studio acoustics guidance to judge which kinds of reflection problems each design makes sense for.
We gave practical fit more weight than a big pack count or a bold absorption claim. A voiceover corner and a room used for mixing give you different reasons to buy, even when both rooms sound live.
- Coverage matters because the total panel area tells you how many spots you can treat with one box.
- Panel depth affects which frequencies a panel can absorb and how far it sticks out from the wall.
- Mounting options help you plan around your wall finish and account for supplies sold separately.
- Setup time matters when compressed panels need time to recover before you can lay them out.
- Published absorption data helps you see which frequencies a panel addresses when test results are available.
- Appearance matters when your recording wall also appears on camera or faces clients.
Each pick earns its place by serving a different studio need. Start with the one that fits the wall you plan to treat.
Best Acoustic Soundproofing Foam Panels for Studios
Start with a few tiles for a small recording spot, or choose a bigger kit if you already know which walls you want to treat.
1. JBER 12 Pack Wedge Acoustic Foam Panels
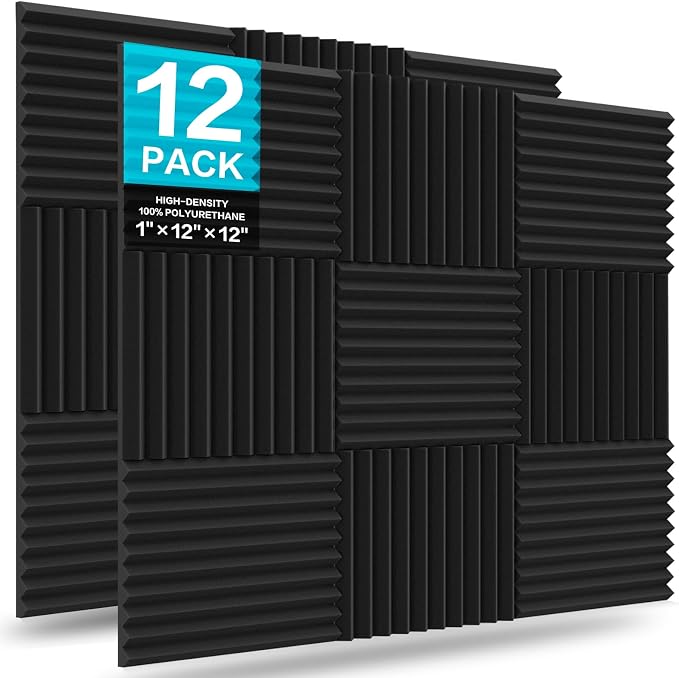
We’d start with the JBER wedges for a solo podcaster or voiceover artist who records at one desk and wants to treat a small patch of wall. The black wedge tiles measure 12 inches square and 1 inch thick, with 12 tiles in this pack.
The squares give you 12 square feet of material, which you can arrange as a single rectangle or split between spots. For a desk with studio monitors, we’d use first reflection points to decide where the tiles go before settling on a pattern.
The polyurethane foam wedges are the shallowest foam option in our guide. That makes them easier to fit where furniture sits close to a wall. The tradeoff is that thin foam generally has limited bass absorption, so we’d use this set for a focused job.
This version comes without adhesive backing. The seller lists glue, double sided tape, and nails as mounting options. We’d choose the method after checking the wall finish, especially if you’re using a room that needs to go back to its original condition.
Before mounting the tiles, we’d let them expand after unpacking, then lay out the whole group. Planning the arrangement while the tiles are still loose makes it easier to split the pack between two areas or change the outline to clear a shelf.
A few things to note
- Skip this pack if you need more than 12 square feet of tile coverage and want to complete the wall with a single box.
- If your main concern is uneven bass when you mix, look for low frequency treatment designed for that job.
2. Dmsky 50 Pack Acoustic Foam Wedges
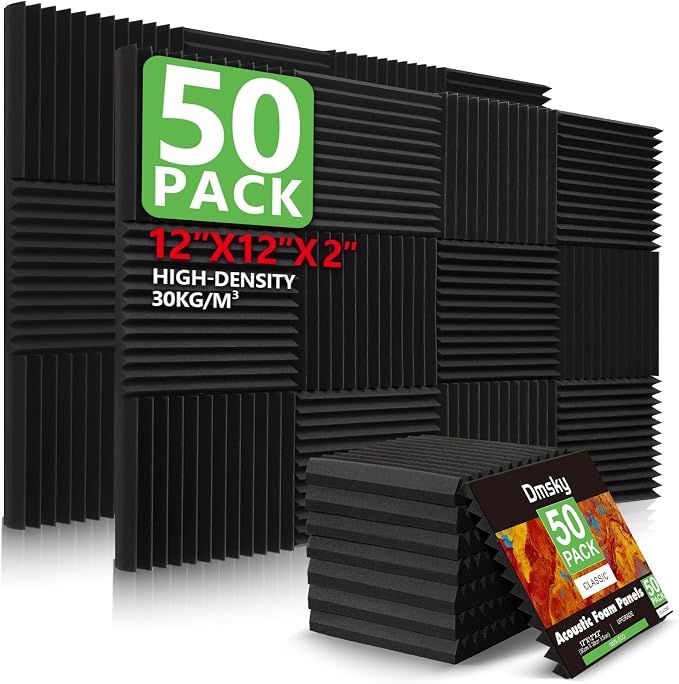
We’d choose Dmsky’s 50 pack for a dedicated recording room where you’ve already marked several spots for treatment. The model II wedges are made from polyurethane foam. Each tile measures 12 inches square and 2 inches thick, giving you 50 square feet to work with.
That quantity is the main draw. You can lay out matching groups on the side walls and still have tiles for a separate area. If you mix on speakers, we’d give early reflection points priority and plan the rest around the room you hear.
The tiles arrive in vacuum packaging. Dmsky says to open the pack and leave the foam in a ventilated place for about 24 hours to recover its shape. We’d budget that time before installation, particularly if the room already has a recording session booked.
Once the wedges expand, lay out the groups before mounting them. The seller’s mounting directions call for general purpose spray adhesive or an adhesive that works without nails. You’ll need to supply the adhesive, so choose it with your wall finish in mind.
Who should skip it
- If you only need a small patch of wall near one microphone, 50 tiles will leave you with more material than you have a clear plan to use.
- If you need panels you can open and mount the same afternoon, the seller’s air expansion directions call for allowing roughly a full day.
- If you’re specifying treatment for a particular frequency, ask for absorption by frequency. We couldn’t verify that data for this pack in the listing.
3. TroyStudio 52 Pack Thick Acoustic Foam Panels
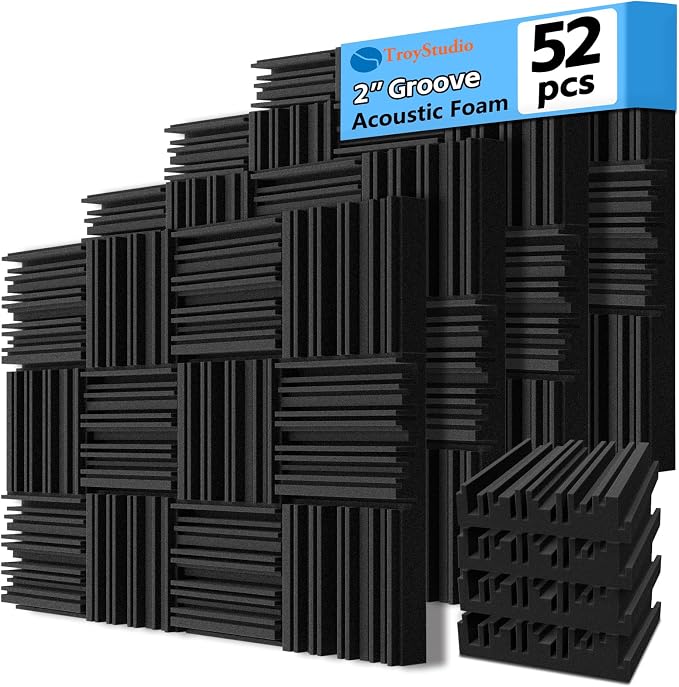
We’d consider TroyStudio’s 52 pack for a project studio that needs treatment across several wall sections and wants a consistent look. These grooved foam tiles measure 12 inches square and 2 inches thick. Together, they give you 52 square feet of nominal coverage.
The open cell polyurethane has a repeating groove pattern that gives the wall more visual texture than a flat square. The seller also describes the foam as soft enough to trim with a knife, which is useful when a run ends at a wall corner.
TroyStudio lists a noise reduction coefficient of 0.8. NRC averages absorption over a limited frequency range, so that figure gives little guidance about deep bass. We could verify the published number on the listing, while an independent report for this exact pack remained unverified.
The mounting directions list double sided tape, spray adhesive, or small screws. TroyStudio sells its tape separately. If you plan to trim tiles to fit, we’d mark out the layout and check the spacing first so the grooves line up across neighboring pieces.
We’d start by treating first reflection points near the mix position. Listen from the same seat before using the remaining tiles. The large pack gives you room to add another section later if you’re still hearing reflections you want to address.
A few things to note
- Skip the 52 pack if your studio only needs one small wall section and you have no plan for the remaining tiles.
- If a studio specification calls for independently documented absorption at particular frequencies, request the full report before basing your design on the listed rating.
4. 12 Pack Self Adhesive Acoustic Panels
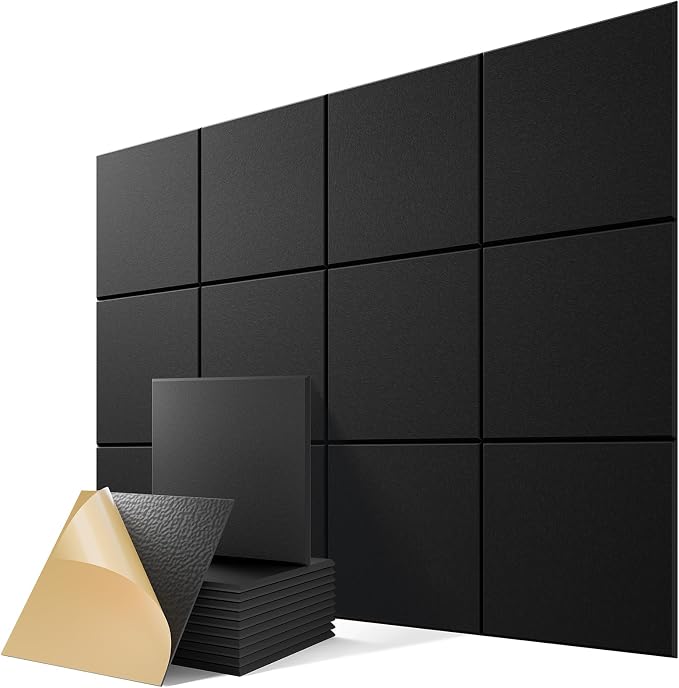
We’d pick this black peel and stick set for a home office that doubles as a podcast studio, especially when a shallow panel suits the space. Model AP12BLK comes with 12 square panels measuring 12 inches on each side and 0.4 inches thick.
The listing identifies polyester fiber as the panel material. That thin build makes sense when you want treatment to sit close to the wall near a desk or shelf. The squares give you a nominal 12 square feet to arrange around your recording spot.
The adhesive is already on the back. The seller’s installation directions specify smooth surfaces, so we’d pick the spot and lay out the tile edges before peeling off the liners. That preparation is worth doing if the squares will be visible behind you on camera.
We couldn’t verify frequency specific absorption for this exact model. With a panel this thin, we’d use the set for a limited patch where reflections are the concern. A room with bass problems calls for a look at low frequency treatment before you buy.
Who should skip it
- If the only spot available has a textured finish, skip this kit unless you can confirm that the built in backing suits that surface.
- If you need a temporary installation with documented removal instructions, check how the adhesive comes off. We couldn’t verify removal guidance for this exact model or how it affects painted walls.
- If you mainly need to stop sound from reaching the next room, put your effort into sound isolation for the walls and door.
5. JaneTech 8 Pack Art Acoustic Panels
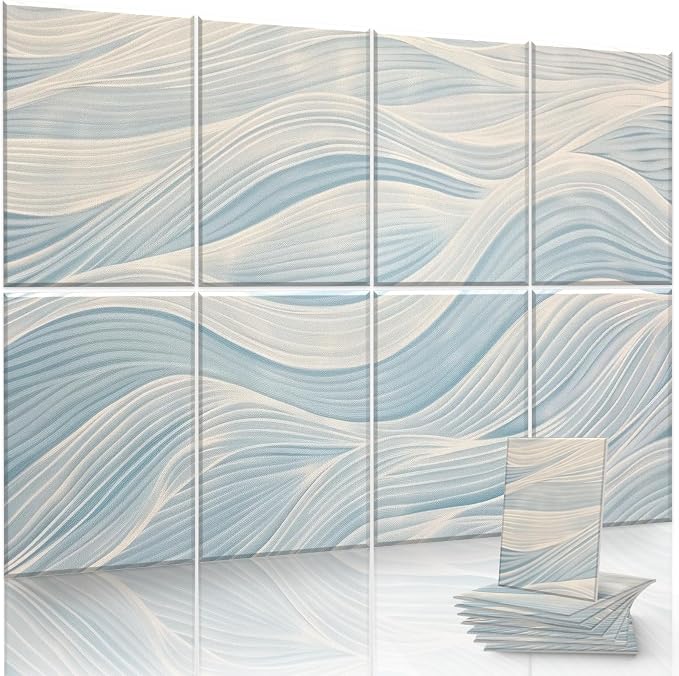
We’d choose JaneTech for a video podcast set or a small studio where clients also see the recording wall. The PaledRipple design gives you eight pieces of one larger image, with an assembled layout measuring 48 inches wide and 32 inches high.
The polyester fiber panels measure 16 by 12 inches each and are 0.4 inches thick. We see that shallow profile and the printed artwork as the reasons to choose this set. It can cover a defined spot on a wall and double as your backdrop.
The listing includes nano glue stickers for mounting. We’d lay out all eight pieces on the floor, confirm their order, and mark the outside edges on the wall before attaching anything. A little planning helps keep the image aligned across the seams.
The art format also limits your placement. We’d hang the set where the full image looks right and where you have a reflection to treat. If those are different spots, decide which matters more before committing the adhesive to the wall.
We couldn’t verify absorption by frequency for this print. That matters if you’re choosing treatment for a mix room with a specific acoustic problem. For a studio that doubles as a video set, we’d judge the panels by how well their layout fits both uses.
A few things to note
- Skip this set if shelves or other fixtures leave too little uninterrupted wall space for the full 48 by 32 inch design.
- If you need to treat several isolated spots, choose individual tiles you can spread out while keeping each group visually complete.
Final Thoughts
We’d start with the sound you want to change. For room reflections, choose a panel that fits the area you need to cover and the wall you can mount it on. For bass or sound traveling between rooms, identify the problem before buying a kit.
Then weigh coverage against your budget, the time you have for installation, and how the room needs to look during your workday. A clear plan for one wall is a better starting point than a box of panels without a place to go.
Be First to Comment